This is a super easy and fun way to make a classic treat. Perfect for the little ones to learn about bacterial cultures. Requires very little time and ingredient you probably already have in your fridge.
About
Yogurt is an amazing food. Yogurt has been made for thousands of years. Most likely early herdsmen in Mesopotamia stored milk from their animals in pouches. That milk may have been exposed to bacteria that caused it to curdle into a yogurt like substance. Over time the process was refined and managed, but the same concepts that made yogurt in Mesopotamia thousands of years ago are used today, in your kitchen, to make this treat.
There are a myriad of bacteria that will convert milk to yogurt, given the right environment. But today well mention 7.
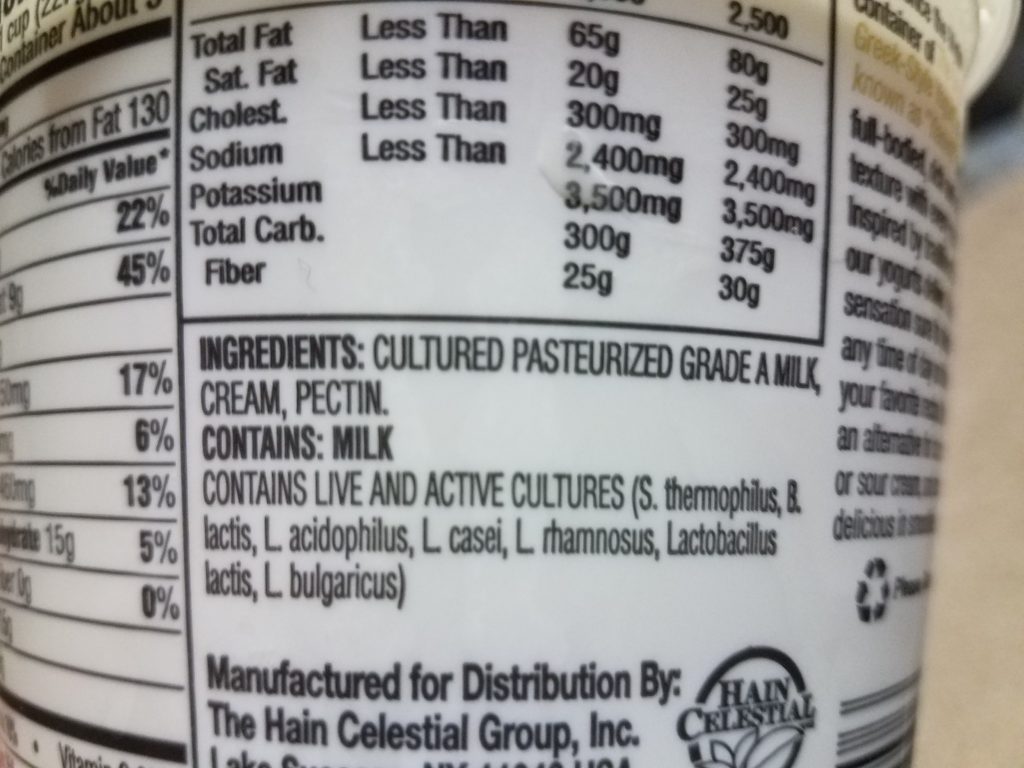
The back of the yogurt I used for starter culture
Lactobacillus
These bacteria are part of what is known as the lactic acid group. The lactobacillus are present in many different kinds of food production from kimchi and sauerkraut to cheese and yogurt to beer and cider. They convert sugars in to lactic acid. In the case of yogurt they are converting lactose to lactic acid. That acid gives yogurt its tartness (it is actually sourness that our tongue recongnizes, a little more about that here)
- Lactobacillus acidophilus
- Lactobacillus casei
- Lactobacillus rhamnosus
- Lactobacillus delbrueckii subspecies
- lactis
- bulgaricus
These five lactobacillus species (and subspecies) are fairly common in most yogurts, not all will be in every yogurt. When I look for a starter yogurt (will explain that I swear) I check the back to see which one has the most variety (it is the spice of life after all) of bacteria cultures.
Other
- Streptococcus thermonphilus – another lactic acid bacteria that is believed to help people with lacotse intolerence digest milk
- Bifidobacterium lactis – added as a probiotic with quite a laundry list of potential benefits, click here to see them.
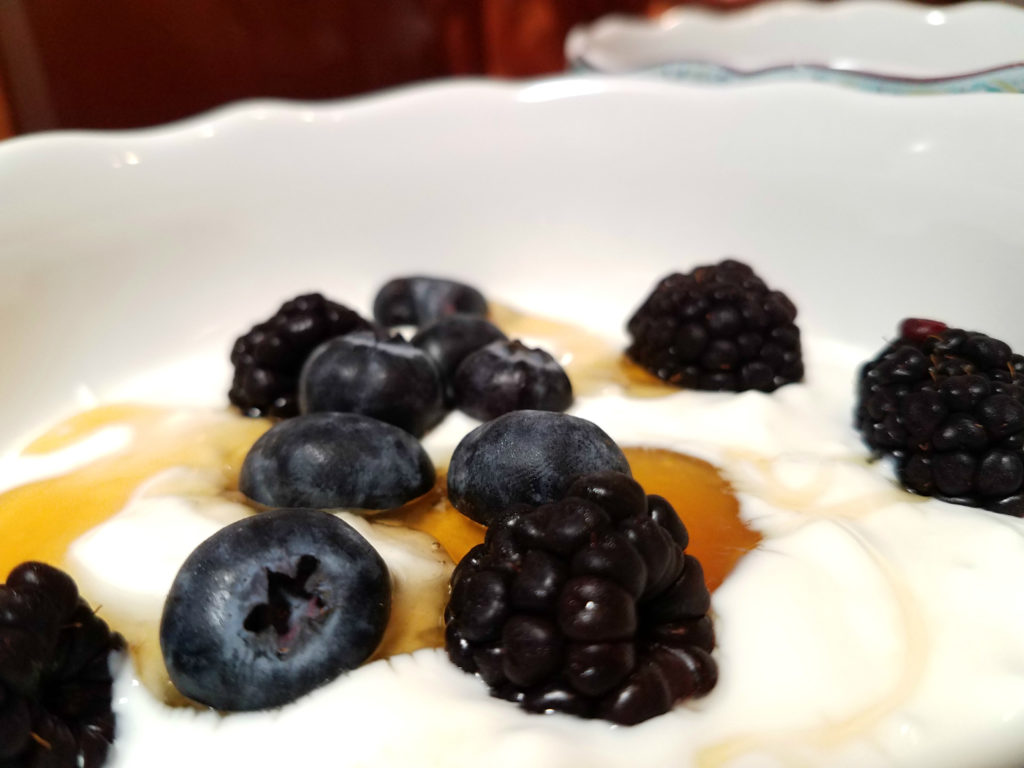
I would like to say I ate this, but my two little food doodies poached it out from under my nose, twerps
Bacterial Growth
Bacteria have 4 growth stages. Lag, log, stationary and death (I guess the last one is the opposite of a growth stage but who am I to correct microbiologists). First the lag phase, which is kind of like the time they are all getting ready, the engines are starting but nothing is happening yet.
Second in the log phase the bacteria are multiplying like rabbits in a carrot patch, they are growing at a logarithmic rate , that is a fancy smancy way to say really fast. These bacteria are using up the available nutrients and leaving their by-products. In the case of yogurt lactose is used up and lactic acid produced.
Next comes the stationary phase. This is where the nutrients are depleted such that the number of bacteria has plateaued. This is where we want to get to for the tartest yogurt (and I don’t mean the provocative nature of the yogurt). Fort a milder yogurt leave in the oven for a shorter time. Remember longer time equals tarter yogurt.
Finally the death phase, pretty self explanatory, they die. We don’t want to make it to this phase (or to the end of it at least) or your active culture super yogurt will be no more.
How To
Time: 1 1/2 days with only about 30 min of effort
Ingredients
Milk
3 tbsp yogurt (active culture)
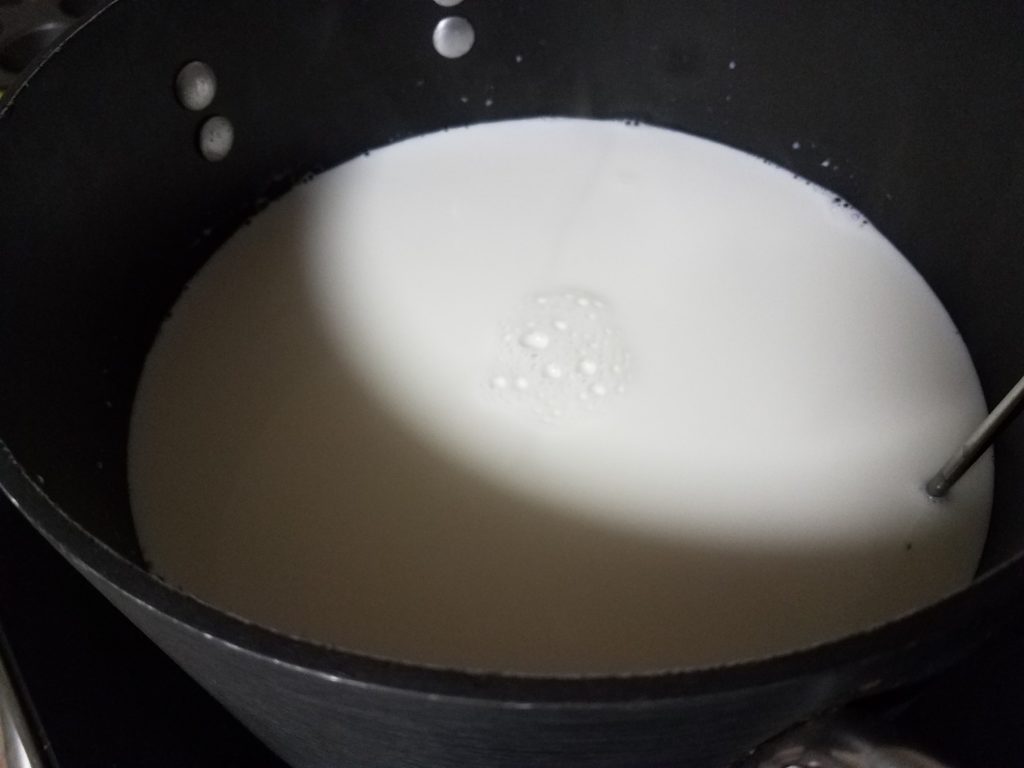
Cold Milk
Heat 1 gallon of milk in a pot to 180 degrees, over medium heat. Stir occasionally to prevent a scalding and to distribute heat evenly. This kill any bacteria in the milk so you are starting with a blank slate.
Cool the milk to 110 degrees (yogurt bacteria like a nice warm environment to grow in). You can either wait and stir occasionally or put the pot in an ice water bath to cool quicker. Don’t go below 100 degrees. Take the yogurt and mix in to about 1 cup of the warm milk. The mix that in to the whole pot stir in an up and down motion to get the culture mixed in.
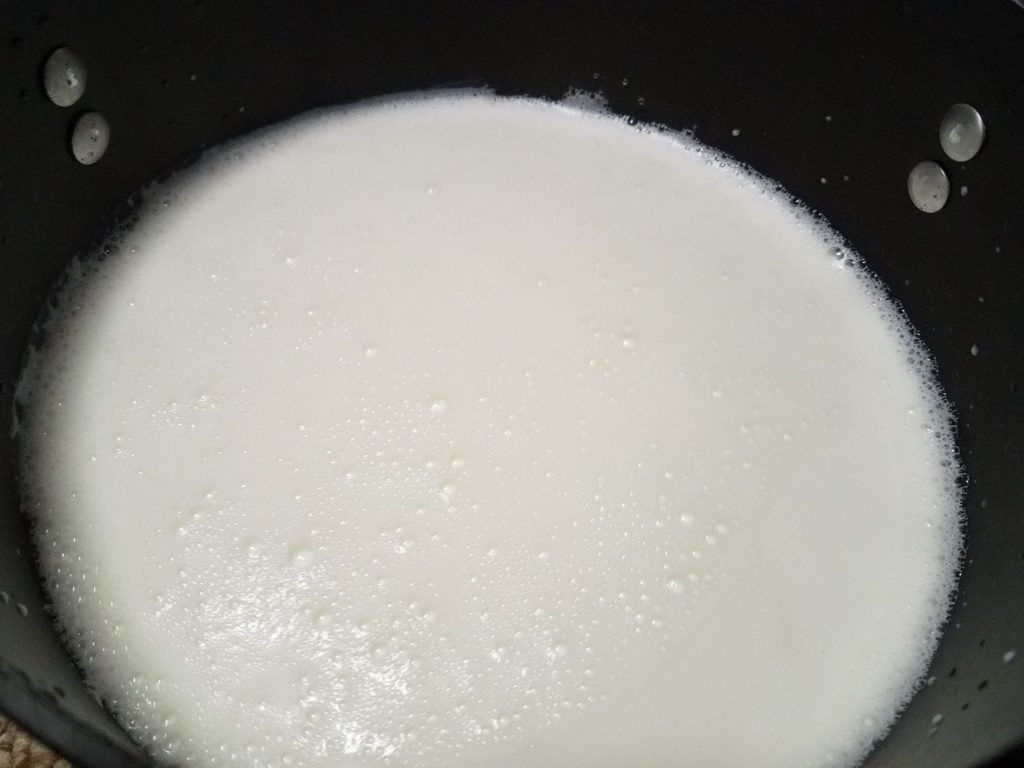
Hot milk
That yogurt you mixed in is your starter culture. The bacteria that are thriving in that
3 tablespoon of milk with grown and multiply until you have your own batch of yogurt with the same cultures as the store bought brand. You can save some of your yogurt for future use on other batches (kind of like sourdough, which is a lactobacillus bacteria too).
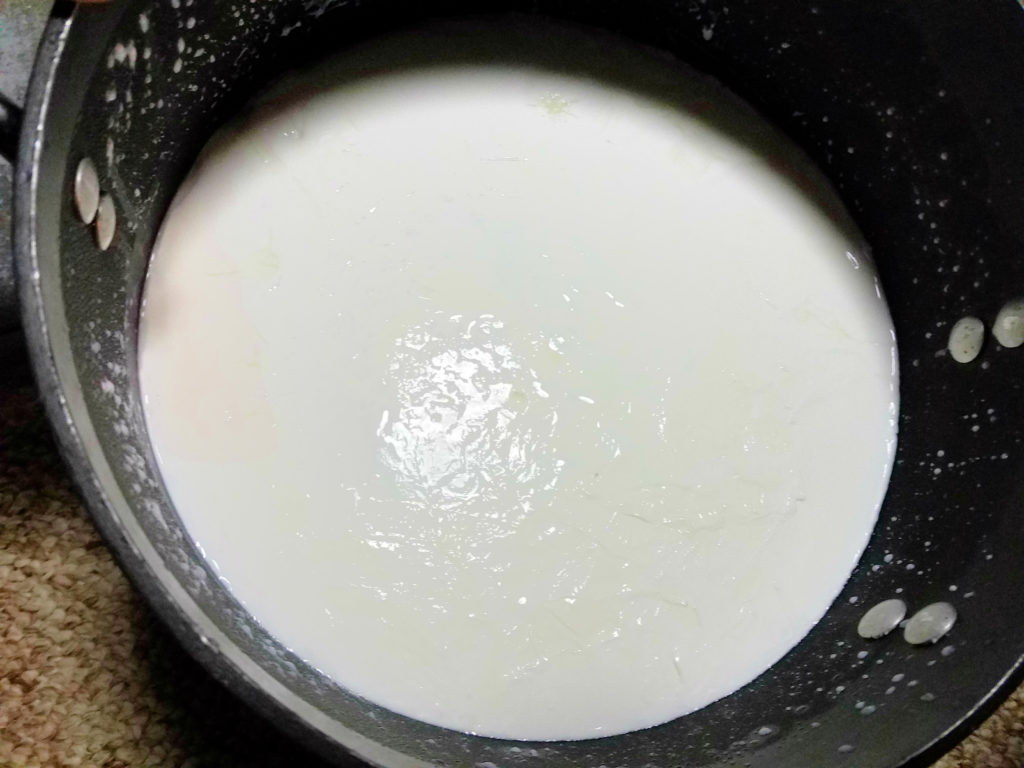
Cover the pot and place it in a pre-warmed oven (set the oven at the lowest temp you have, then turn it off once it reaches temp). Leave for minimum 5 hours but typically overnight. If your kitchen is cool then turn the light on in the oven to keep it warmer. This is where we are growing the bacteria. Yay, microbiology (never thought I would say that, what a dork).
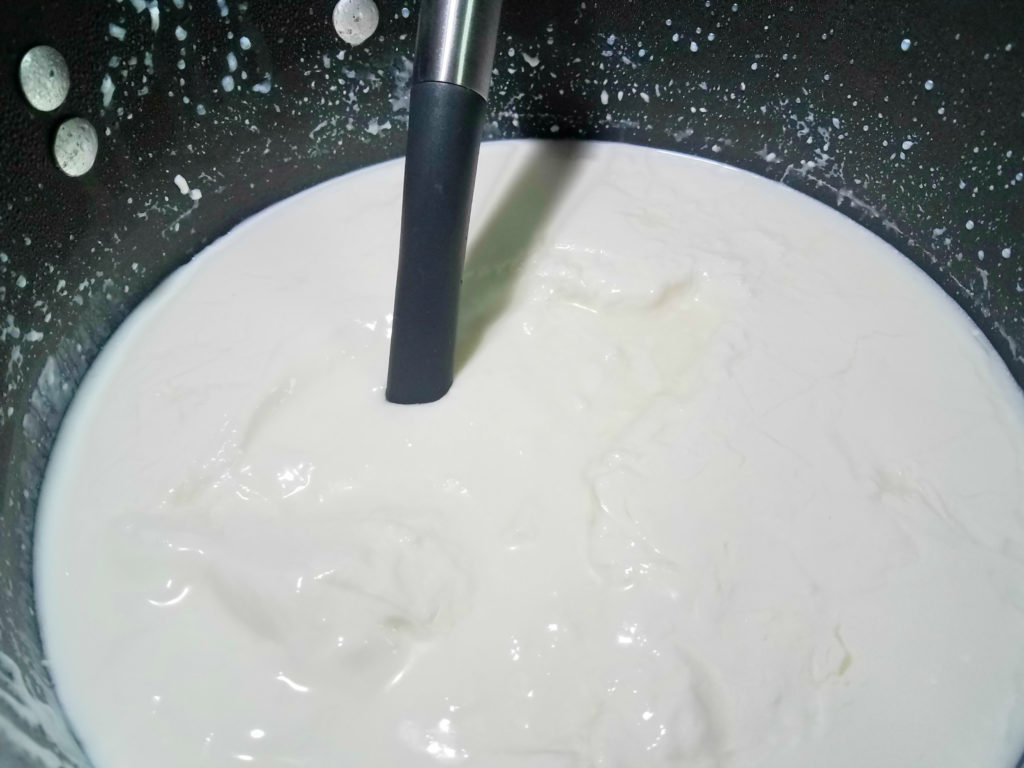
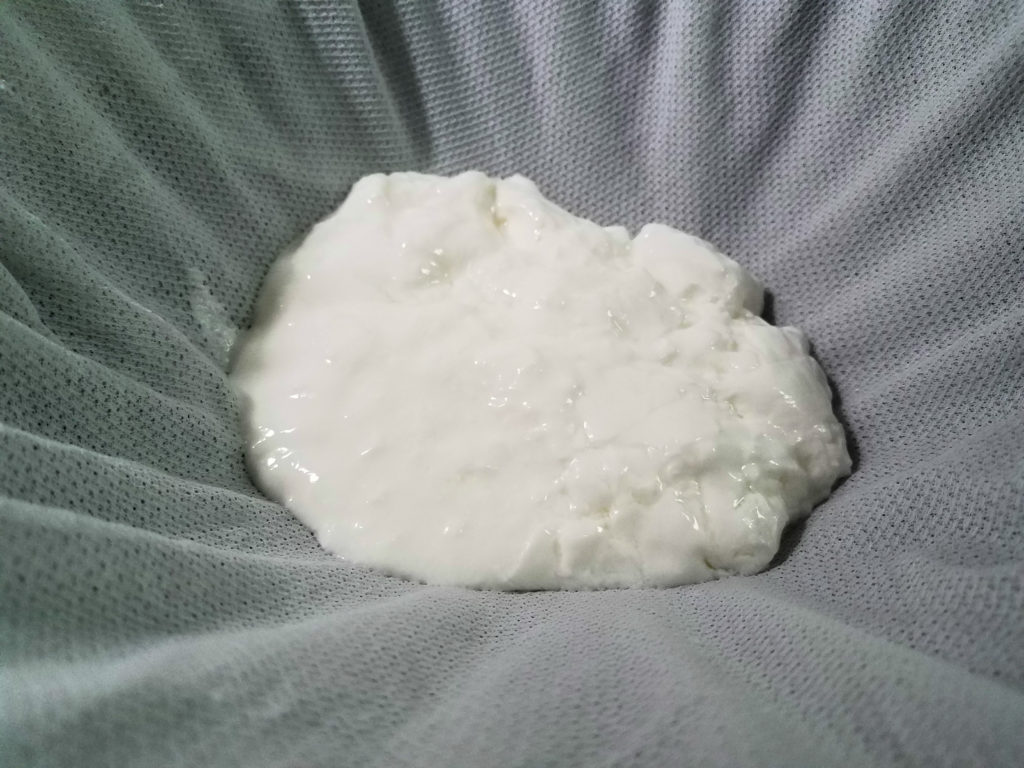
What you have now is regular yogurt, but for the snoody foodies (myself included) one more step is added to make it Greek (Opa!)
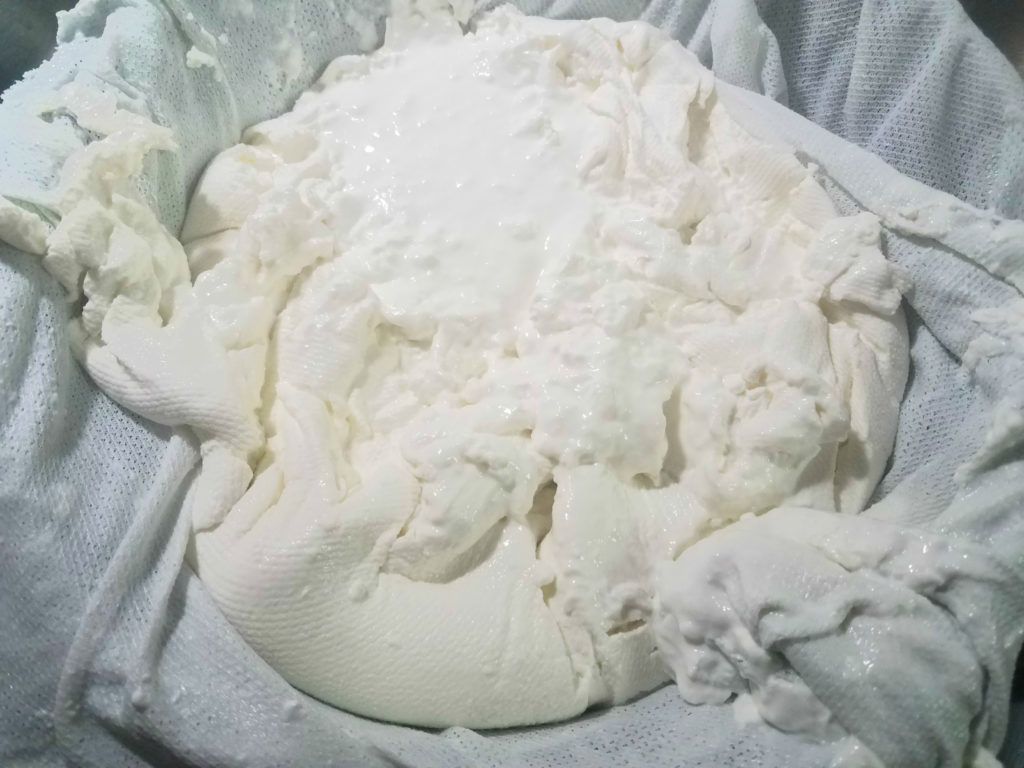
Spoon the yogurt into a colander lined with a mesh cloth. Multi-layered cheese cloth, muslin, scrap cotton all work just clean it in a bleach solution first.
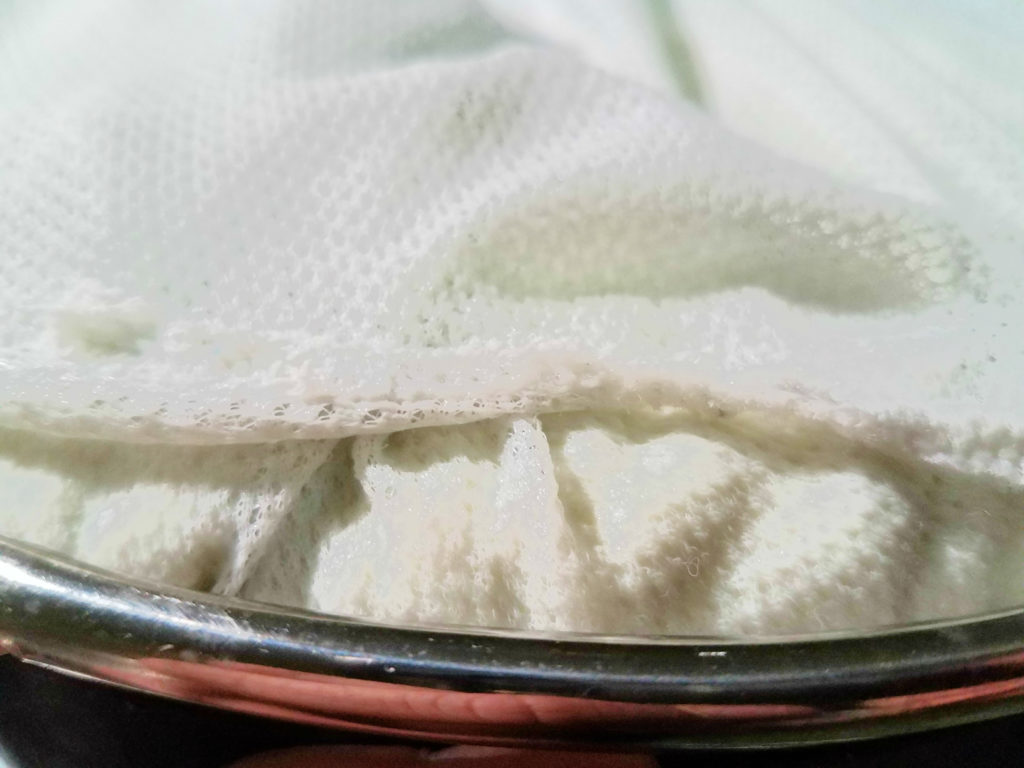
Wrap the cloth to cover the yogurt to protect it from drying to much on top. Let sit in a cool place for several hours, even overnight if you would like. Always keep something under the colander, you are straining the liquid off of the yogurt.
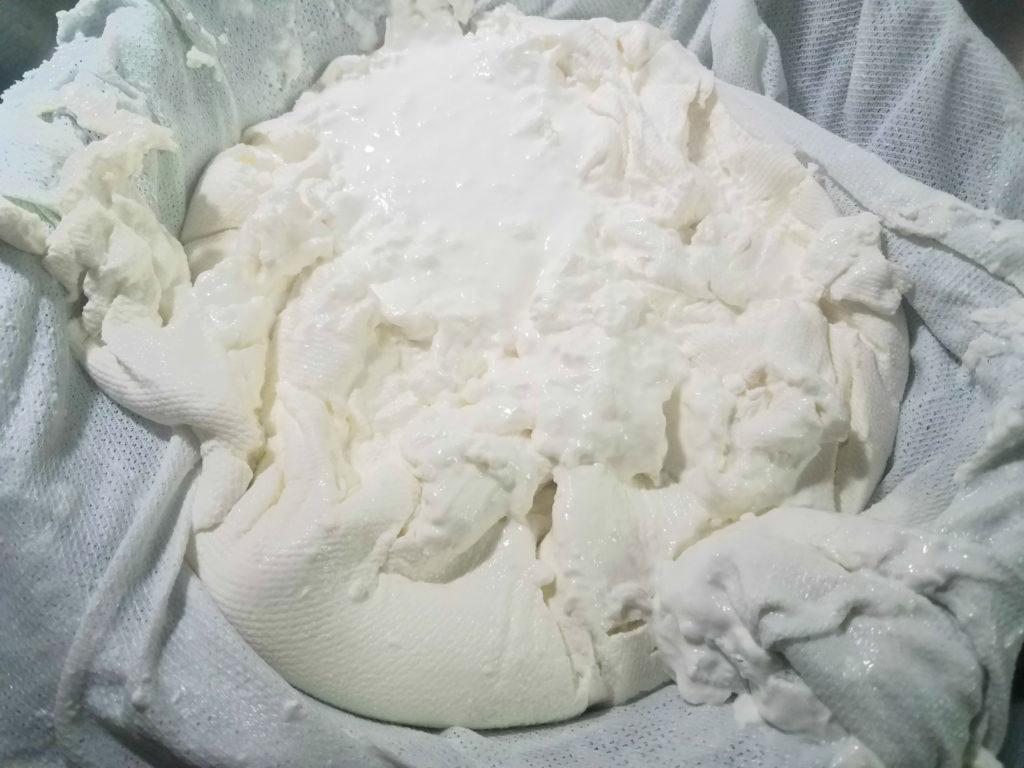
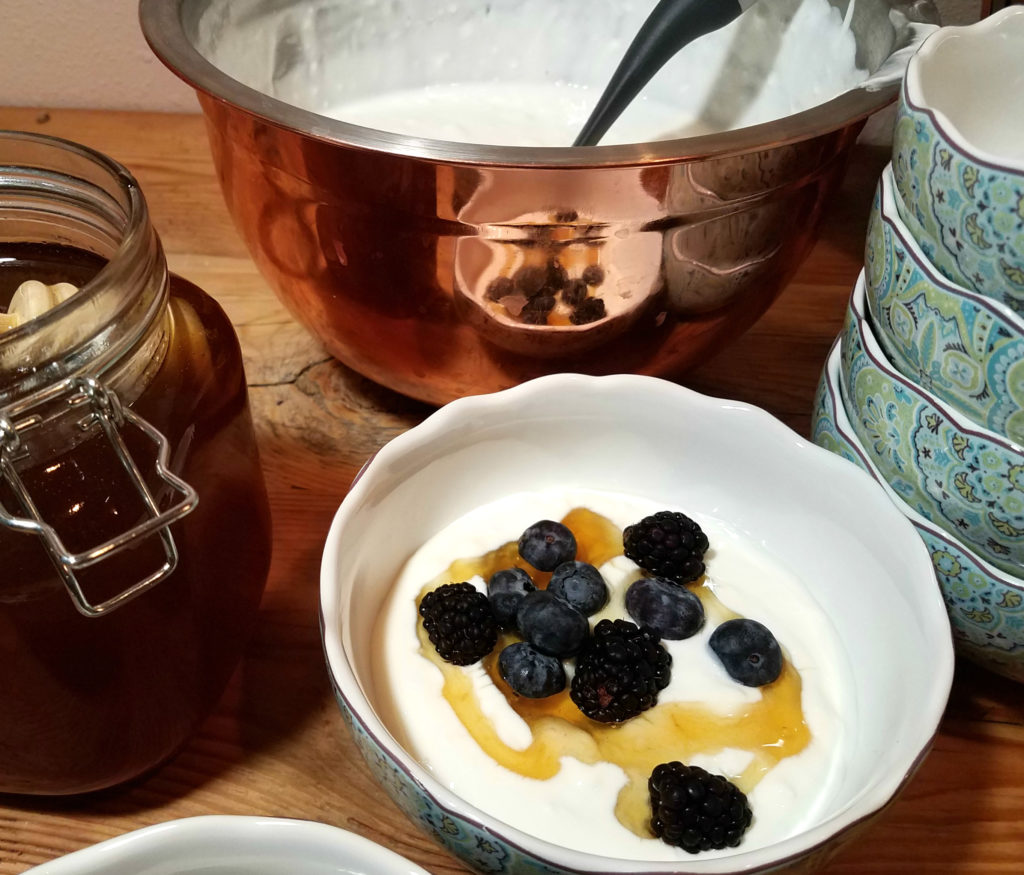
Unwrapped your deliciousness and put it in a bowl, anything can now be added to it (I like honey).
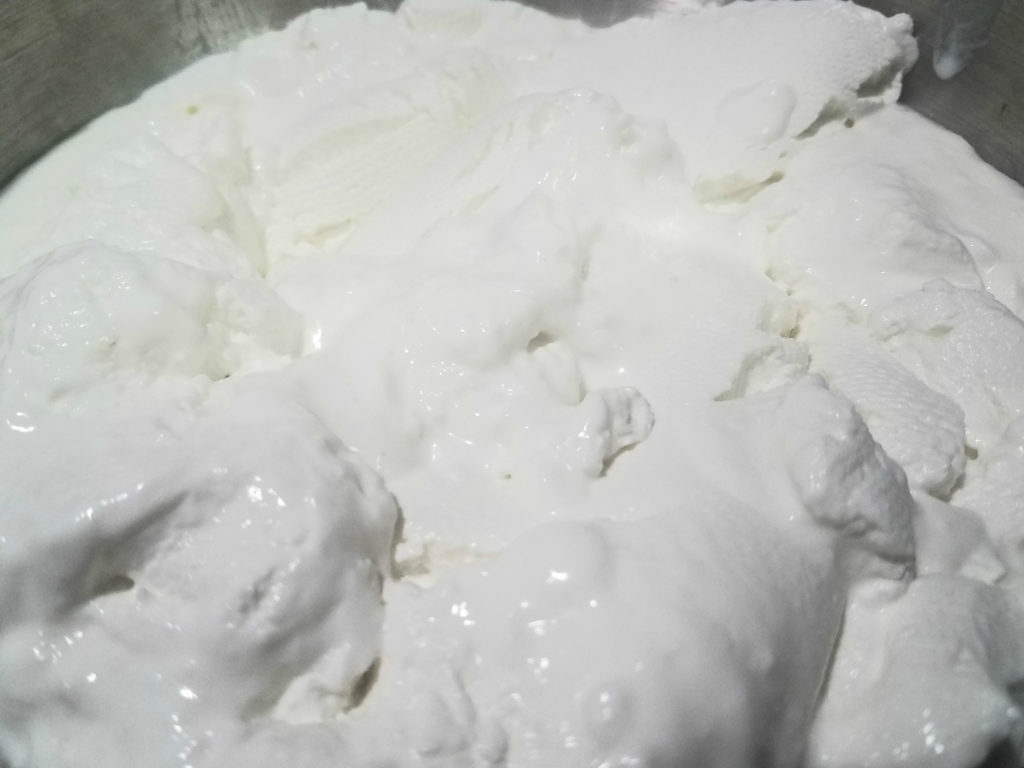
I like to whip it first to make it smooth.
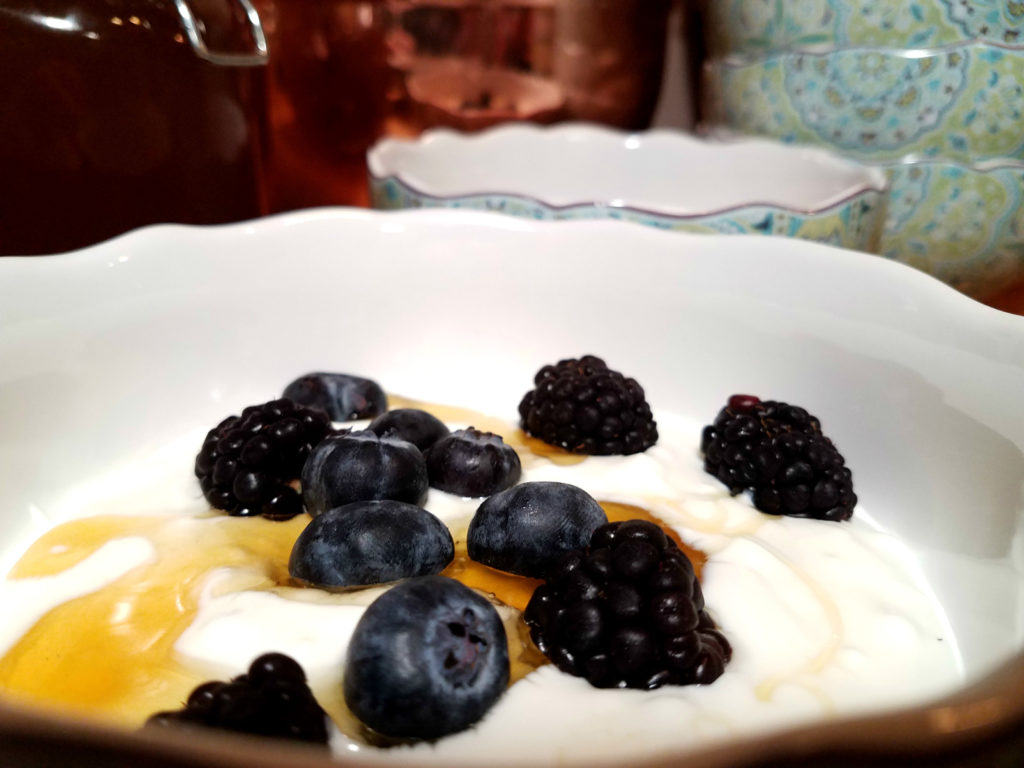
Enjoy the bajebers out of it.
Be sure and check out my other dairy products that you can make right at home Mozzarella and Ricotta


Comments