Original Food Dude

The art of cooking. The science of food.

Category: Preserves

Homemade Vinegar

Few things are cooler than making your own homemade vinegar.  If that isn’t the nerdiest foodie statement ever I don’t know what is, but it’s true.

Origins

What would a post about vinegar be without a little history?

Vinegar comes from two Latin words.  Vinum meaning wine and acer meaning sour.  That’s all it really was.  Wine would be made from various grapes and other fruits and if exposed to air it would sour and turn to sour wine or vinegar.

Vinegar like many of our modern cultured foods was most likely an accident.  A delicious and healthy accident.

Date (the fruit, not what you should be doing weekly with your spouse) vinegar is supposedly the oldest recorded vinegar, the Babylonian empire wrote about it some 3000 years ago.

Sciency Stuff

So vinegar really is one of the coolest products because it can only be made with two types of microorganisms present.  A lot of our foods use the power of microorganisms to be produced: bacteria in yogurt and cheese, yeast in bread and alcohol, mold in cheese, some fungus we just eat and they aren’t so micro-y (not a word).

The two magic micros for vinegar production are yeast and acetobacter.

Now yeasts are actually classified as a fungus, they like to take sugars and simple carbohydrates and digest them.  As a byproduct of their digestion, they produce ethanol (alcohol) and carbon dioxide (this is why yeast makes bread rise).  This process of fermentation is anaerobic (done in the absence of oxygen).

When you make alcohol you are relying on yeast to take the sugars in your mixture and convert them to alcohol and carbon dioxide.  That is why some wines are sparkling (the carbon dioxide is trapped) others are made with a one-way valve system that allows the carbon dioxide to escape.
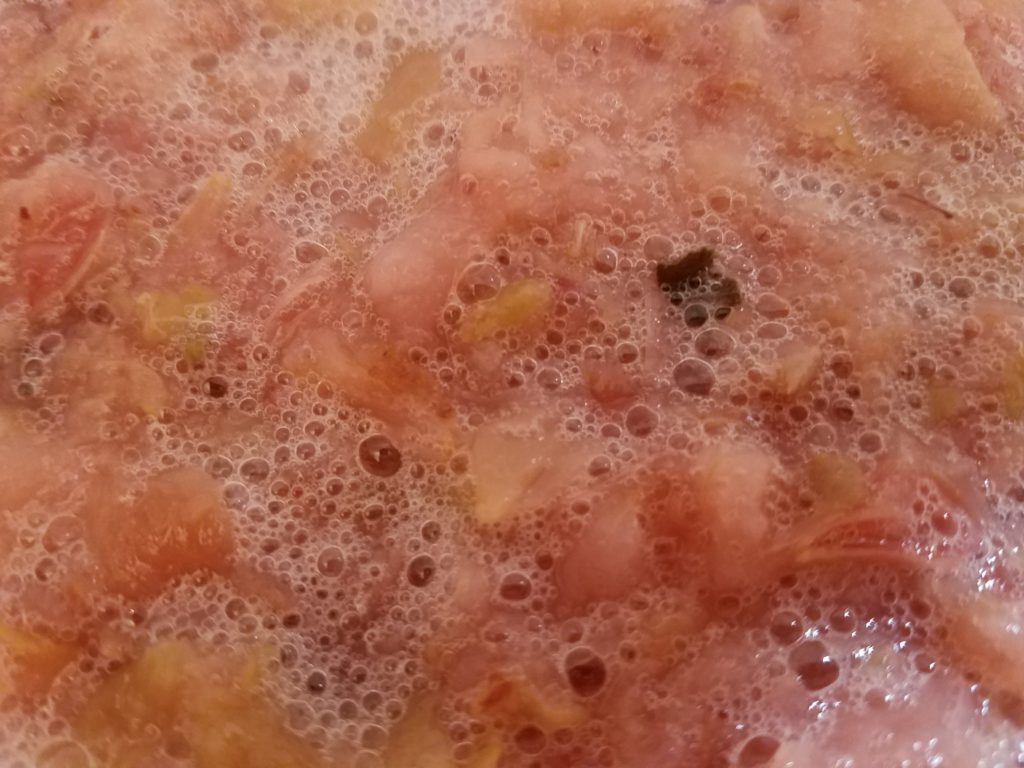
Check out that carbon dioxide escaping.

When you are producing alcohols it is important to start with a known sugar concentration (known as Brix), because it is the sugar concentration (and yeast activity) that ultimately controls the alcohol concentration.  For every 0.5 oz of sugar per quart of liquid, you can produce about 1% alcohol.  That means your typical 80 proof Rum (40% alcohol) needed about 20 oz of sugar per quart or about 2.8 cups of sugar per quart.

However, I’m not a vintner, but am interested in the alcohol only to take it to the next step, vinegar.  This is where acetobacter come in, these little buggers take the alcohols, that the yeast produced, and metabolize them into acetic acid (the acid in vinegar).  These guys are aerobic (like Richard Simmons, don’t you feel like a pony), although some work has shown recently that acetobacter can survive anaerobic conditions, which is bad news for the dudes in Napa Valley, generally acetobacter need oxygen.

Thus in vinegar production, you produce alcohol with yeast without oxygen and acetic acid with acetobacter with oxygen. Complicated right?

The ratios I mentioned earlier are important even with the acetobacter.  In order to be vinegar legally, there should be 4% acetic acid, to be safe 5%.  The good news is acetobacter is very efficient at converting ethanol alcohol to acetobacter, up to 130% yields.  Practically it would be between 100 and 120%.

That means your 80 proof bottle of rum would theoretically yield a whopping 48% acetic acid vinegar, which would be far far far too strong.  So we dilute the alcohol before vinegar production to keep it in the 5-7% range (wine is about 11 or 12% alcohol).

Man, I love this stuff, it is just so cool how it works.

Fruit Scrap

You can make homemade vinegar in a myriad of ways, but today I’m going to talk about the simplest one, fruit scrap vinegar.  (Imagine if I misplaced the s and it said fruits crap vinegar, no one would use that).

I love fruit scrap vinegar because I can make it out of so many things.  To date, I’ve made Apple, Pear, Peach, Blackberry, Raspberry, and even Pumpkin vinegar (cause I’m awesome like that).  The process is simple the results are cool and it is a great teaching tool for demonstrating fermentation principles to your little ones.

This kind of vinegar doesn’t rely on the natural sugars in the fruit but we add sugar and water to ensure that alcohol can be produced.  Natural yeast in the air cause the fermentation to begin and often the environmental acetobacter (meaning I don’t know where they come from) will convert the alcohol to acetic acid.  I typically add some acetobacter to ensure it happens and speed it up.

How To

You will need 4 things to make your vinegar.

First, fruit scraps.  This is the apple cores and peels from applesauce, the peach peels from peach pie,  whole berries, or a diced baked sweet pie pumpkin for pumpkin vinegar.

The second thing you need is a large non-metallic vessel.  I like to use glass or earthenware, but plastic works well too.  You will need a way to cover the vessel with a  cloth.  1/2 gallon mason jars work great.

Thirdly, you need water and sugar.  I mix 1 cup of sugar to one quart of water at the most.  Under ideal circumstances that would give me 14% alcohol, but I know my circumstances at home will be less than ideal so it will most likely be substantially less.  Don’t mix less than 1/2 a cup for really not sweet fruit as it can result is a super weak vinegar that is no good and unsafe.

Fourth you need time (not thyme).  This is a fermentation process and it will take some time to produce, but it is well worth it.

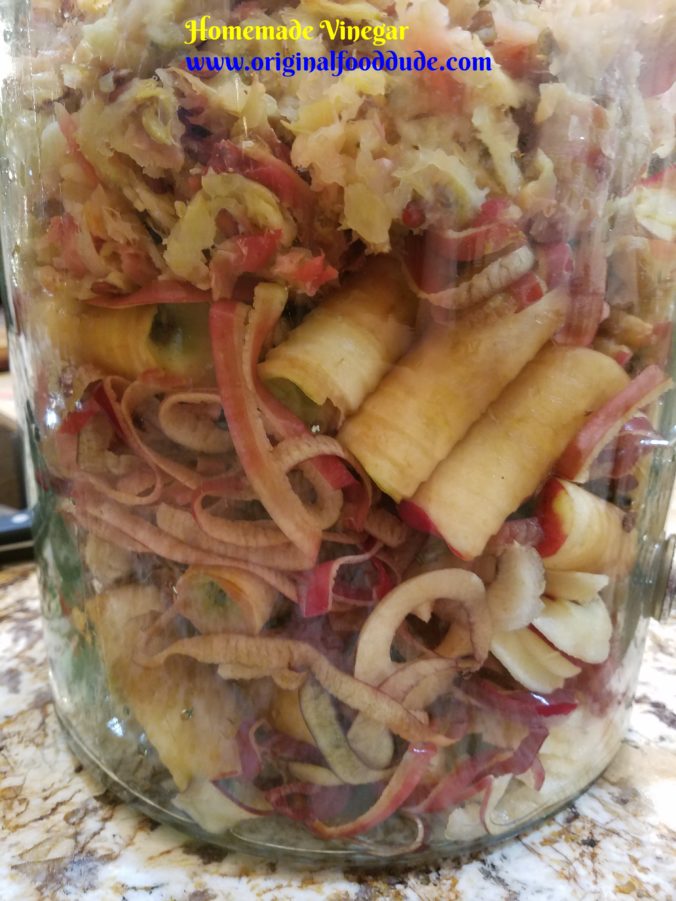
Step one.   Place all your fruit scraps in a suitable container (again not metal as it reacts with the acetic acid).  I like to fill the container about two-thirds full with scraps, don’t pack them, just fill loosely.
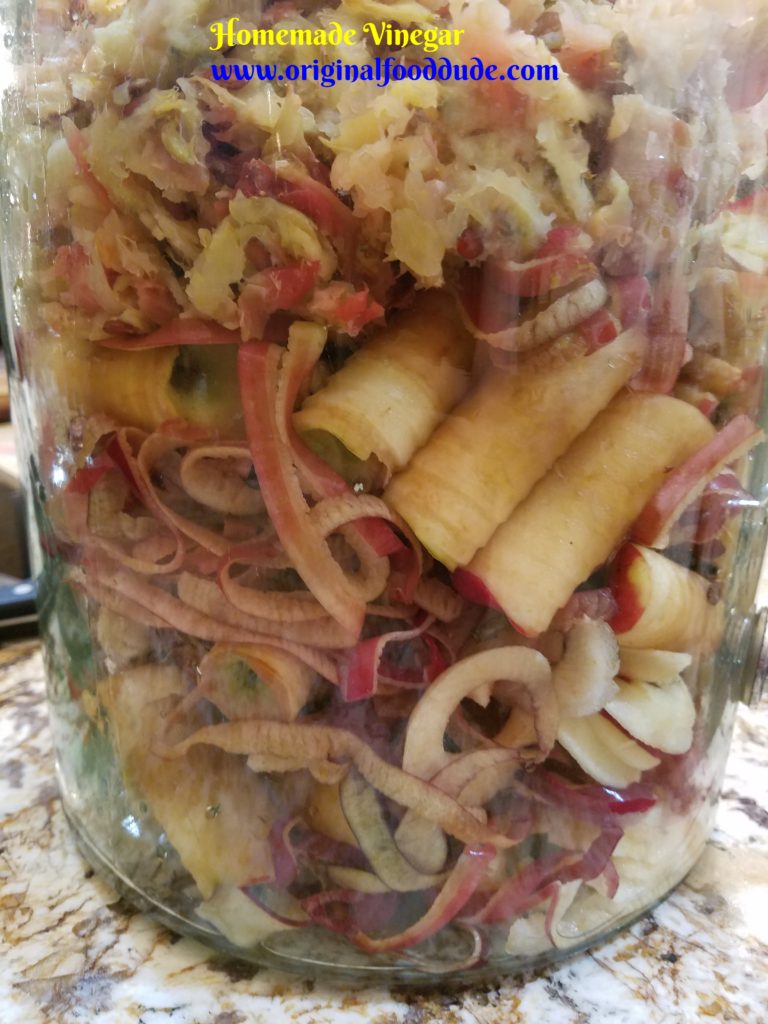
Pour in the water/sugar mix, make sure the fruit is completely covered.

Cover the container with a cotton cloth (painters rags work great).  The cloth serves three purposes: 1. It keeps fruit flies out of your vinegar 2.  Allows the carbon dioxide escape when you are fermenting 3.  It allows oxygen in when you are converting alcohol to acetic acid.

Secure the cloth with twine or bungee.

Place mixture in a warm area of the house.  Furnace room or utility closets work great.

Check daily, push the fruit down under the liquid as needed.
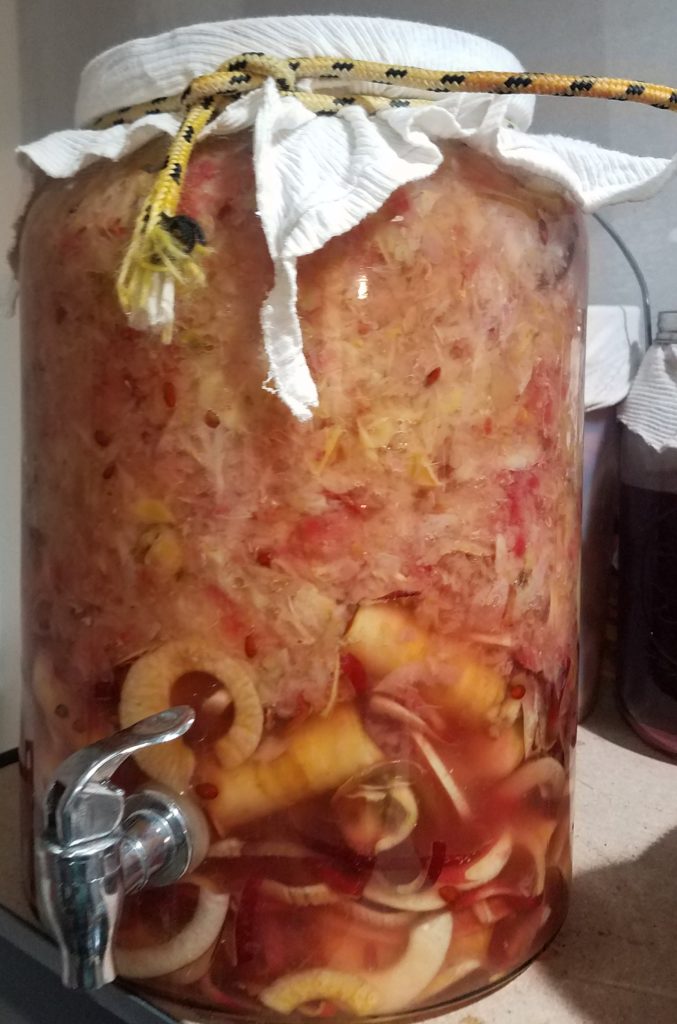
This is apple vinegar, there is blackberry behind it.

You will start to see bubbles and foam forming in the liquid, this is the carbon dioxide trying to escape.  After about a week to a week and a half, you will smell the alcohol.

Drain all the liquid off and discard the solids.  I feed my solids to my chickens, they love it, I guess they are drunken chickens.

Place the liquid back in the jar.  I add a couple of tablespoons of Braggs vinegar (because it has live acetobacter) here.  You don’t have to add the vinegar, but sometimes there isn’t enough environmentally and I don’t like to go through all the work for it to fail.

Re-cover the container with the cloth.

Store in a warm room and stir a couple of times a week to get more oxygen in the vinegar.  You will begin to see a layer of goo form on top.   This is known as the mother of vinegar and is where the acetobacter is heavily concentrated.  This may take about one to two more weeks.
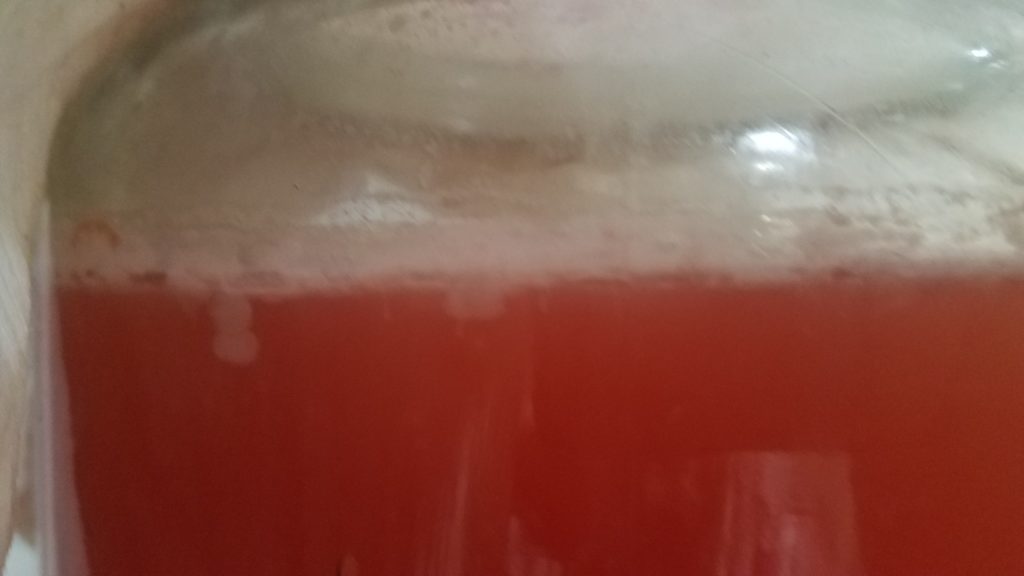
Mother forming on top.

The vinegar is ready when you can smell the vinegar and the mother is really prevalent.   You can put it in mason jars with tight lids to keep it for about a year.

There you have it, your own wonderful vinegar that you can make right at home.  The beauty of this is you can let your creativity really run with this and make almost any fruit you want and even combine flavor or add additives (I had cinnamon sticks in my apple vinegar).  Enjoy.


Amazing Homemade Applesauce


Amazing homemade applesauce oh my…

Background

Growing up in Florida definitely had its perks.  We had 300 days of swimming weather, all the citrus I could eat in the winter, beaches, etc.  The one thing we didn’t have was really great produce (besides citrus and tomatoes).  Try buying a really good apple and you would be out of luck.  I even thought I hated cherries because all I had ever had was those little maraschino cherries.  I mean… who hates cherries?  What was wrong with me?

Then in 2005, I moved out to Utah (from south Texas) for school, and I began to discover the wonderful world of stone and pom fruits.   The first time I bit into an Early Elberta peach and all the juice ran down my face and the sweet peachy flavor triggered all my taste buds, I think I even saw new colors.  Then the next spring a guy offered me some bing cherries, I turned them down stating “I don’t like cherries” (see above).  He forced me to eat one, then immediately regretted his decision as I ate half the bag (I’m a good friend like that).

My Wife Teaches Me…

Then when I got married my wife started talking about Jonathan Apples.  Remember an apple to me was an unripened Granny Smith that dries your mouth out or a mushy Red Delicious that is pretty much inedible.  There was a whole world of apple varieties I had never even heard off.  Jonathans, Jonagolds, Calville Blanc, Pineapple, Cox Orange Pippin, the list goes on.  I thought there were only a handful of varieties, like the one we saw in the stores in the south.

Lexie (my wife) and I decided to can applesauce one of the first years we were married.  Her mom had done it when she was a girl, and she raved over it.  We went to our favorite fruit stand and bought a bushel of Jonathan apples, which Lexie said are the best (I tend to agree).  We went home where we boiled and sauced and canned all of them.  It made about 14 quarts, that didn’t last near as long as we thought.  We did it again the next year with a bit more and have done it periodically since in the fall of the year.

Apples

Now I am by no means an expert when it comes to apple varieties, I generally rely on my friend at Fonnesbecks Greenhouse, Barry has introduced me to more apple varieties than anyone I know.  He has a tree there that produces a cotton candy apple, not my favorite but still pretty neat.


We use Jonathans almost exclusively right now for two reasons: first, they are my wife’s childhood apple.  They bring so many memories back to her and we all know how powerful food is to create memories.  The second reason and even more important is that I can find them in mass quantities in the fall.   Simple as that, I have to use what I can get right now.  Fortunately for me, they are delicious with just the right amount of tart to sweet to make almost any apple dish amazing.

Side note, when my Cox Orange Pippin, Calville Blanc, and Honeycrisp trees are mature I’m sure I’ll use those too, along with my Jonathan trees.

Then this year a miracle happened.  Our wonderful neighbors across the street told us to come pick their very old Jonathan apple tree clean because it was just going to go to waste.  They couldn’t eat them all and they don’t really can food, so we hit the jackpot.  My wife went over and picked around 2 bushels one day.  Then she went back and picked another 4 bushels.  She then sent me over to climb the tree to pick the rest, I got another 2 bushels from the top branches.  All in all we picked 2 or so bushels of apples off that tree.  That is about 420lbs of apples, we were in hog heaven.

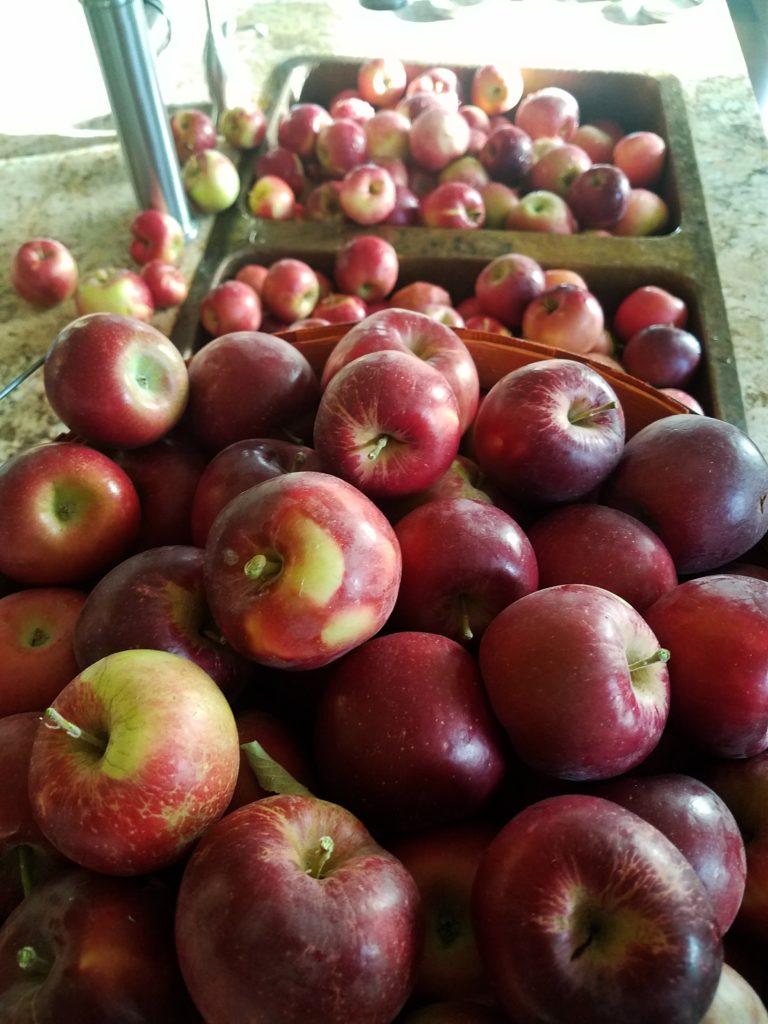
This is like 1/8th of the apples we picked… ahhh what was I thinking.

So what do you do with 8 bushels of delicious Jonathan apples?  Well you can eat them (although if you ate 8 bushels you might explode).  We settled on four things, all of which I’ll put on the blog in the coming week.  First we made applesauce, then we made apple pie filling, we dehydrated a bunch,  and finally, I made apple vinegar (that stuff is amazing).

Applesauce

So how do we make this amazing applesauce?

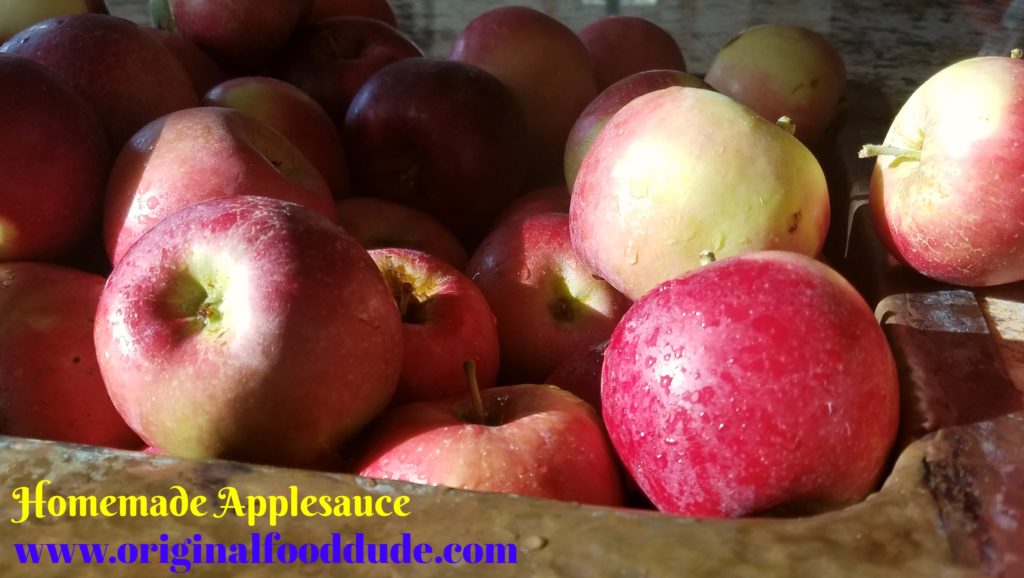
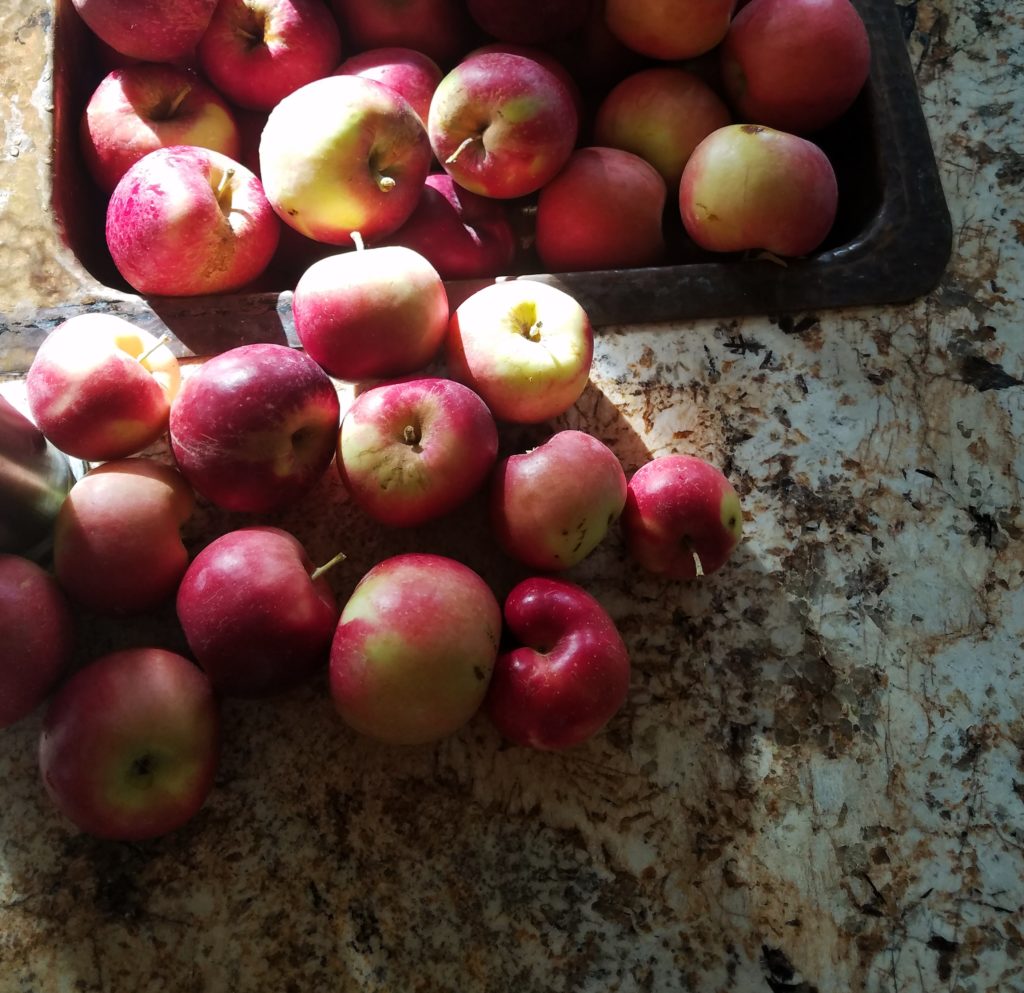
First, we get a bunch of apples.

Check.

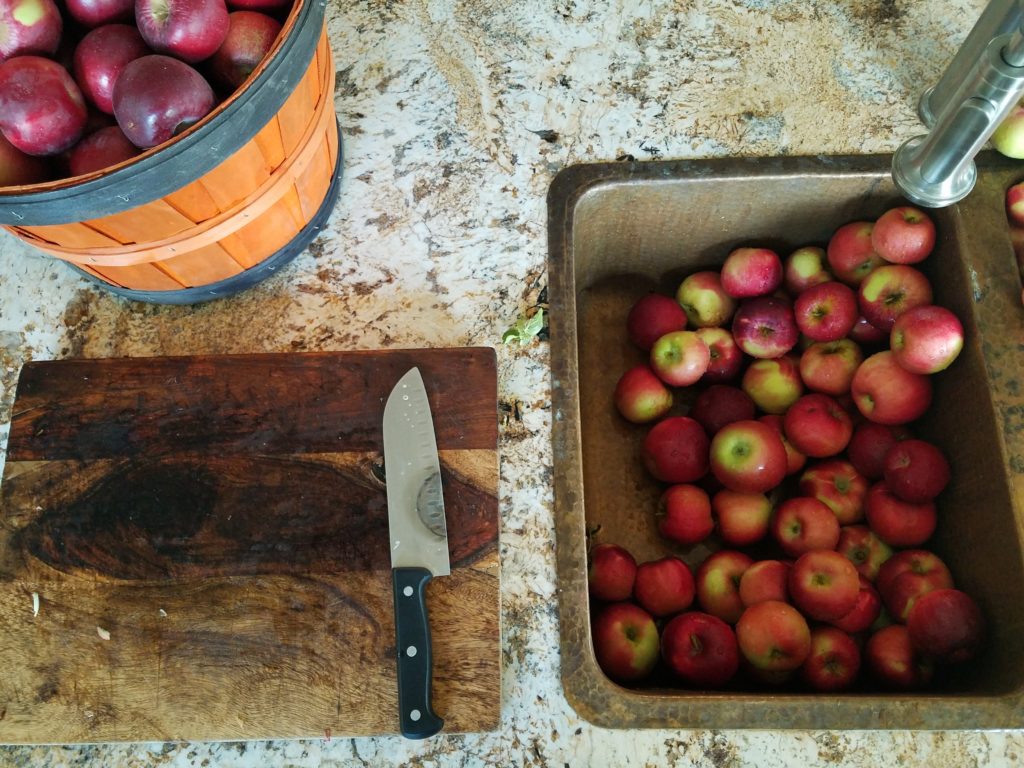
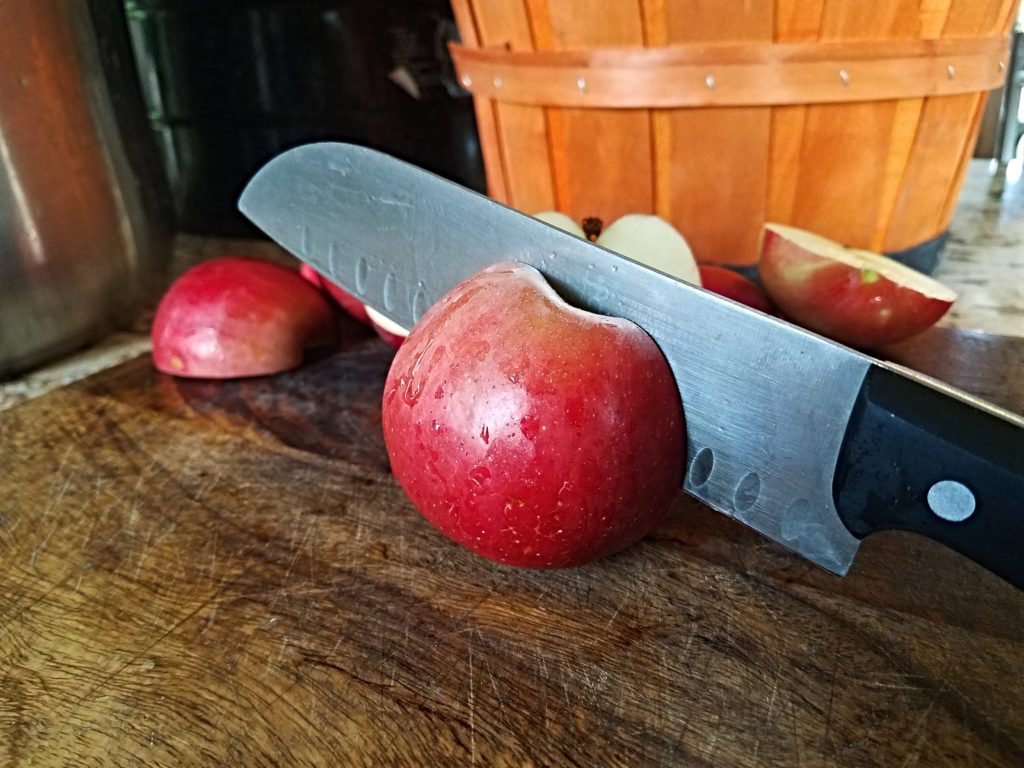
Then you want to cut them in half or quarters, at least the bigger ones.

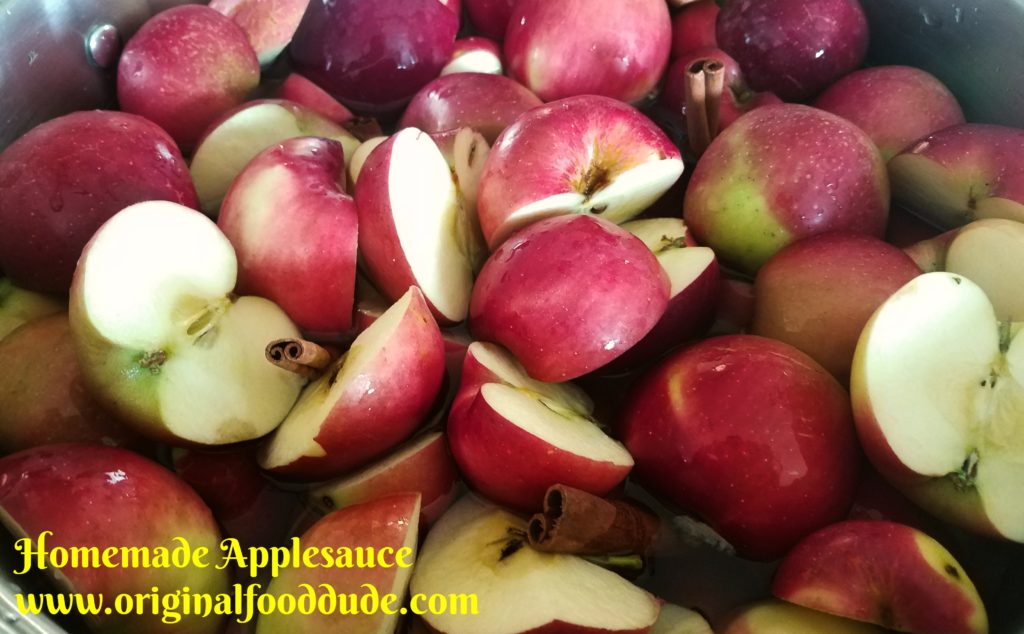
Put all of your apple slices in the biggest darn pot you have, I use a 36 qt stock pot which yields about 11 quarts of applesauce.  Be sure and fill about halfway up with water first.

Be sure and add a pile of cinnamon sticks.  Nutmeg, cardamon, star anise are also great.

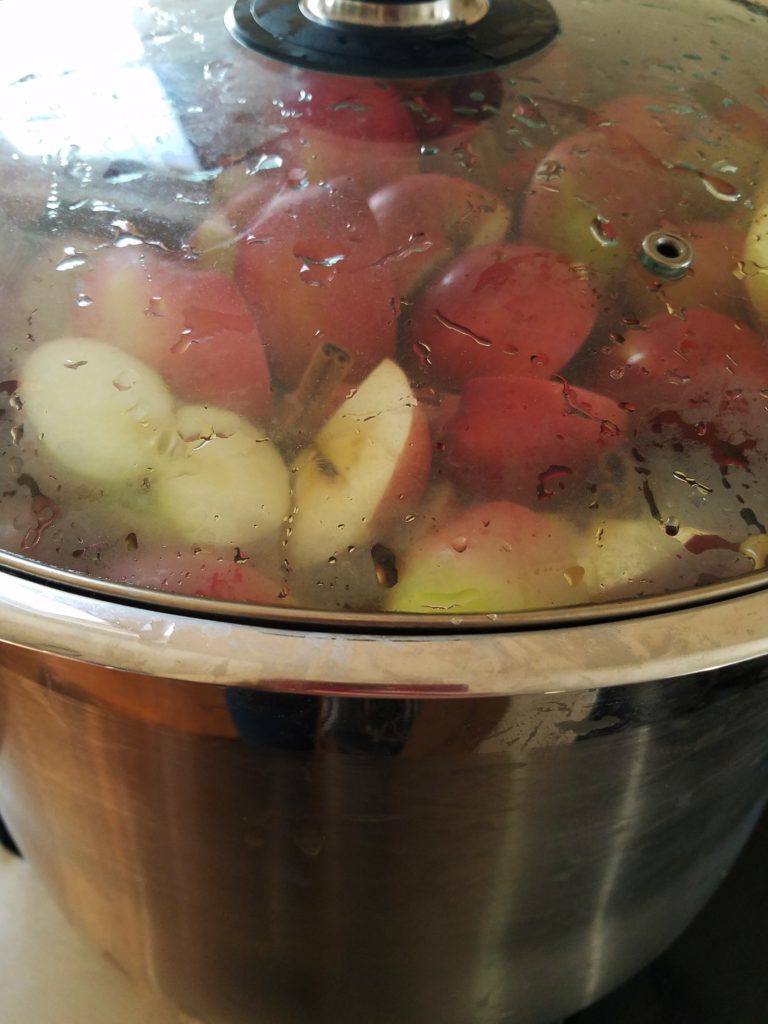
Boil the apples.  Be sure and breath deeply as they boil the smell is awesome.

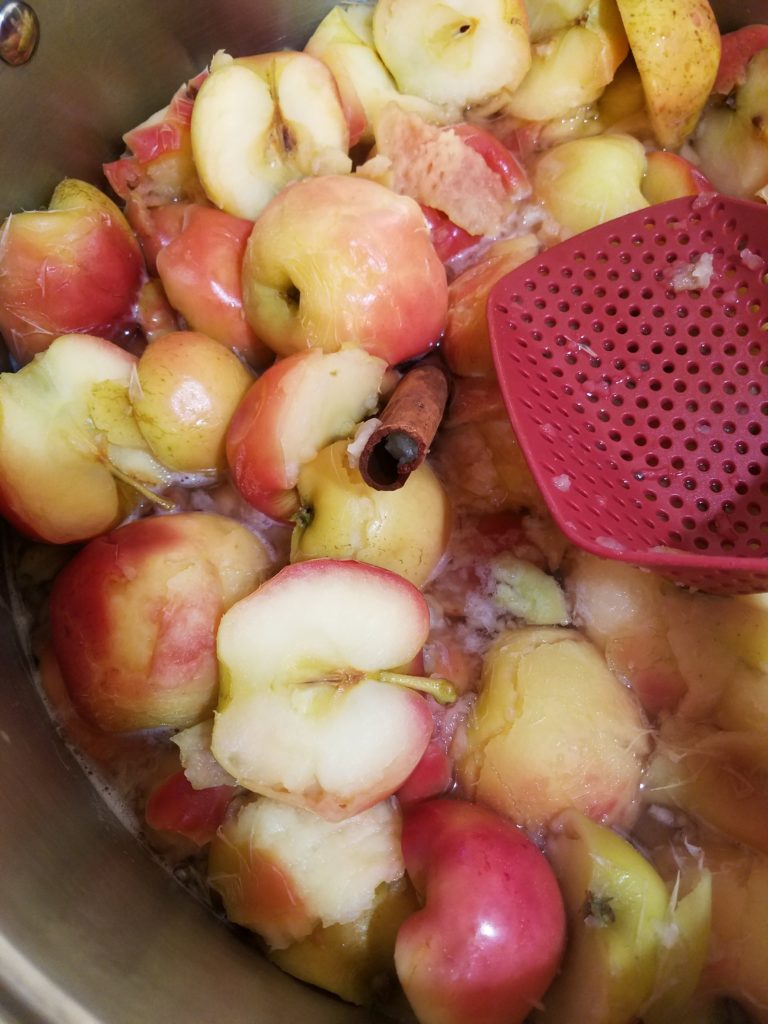
Keep boiling until the skins start to separate from the flesh of the apples.

Now time to play some Seinfeld sausage music.

Its pretty much the same process as Kramer and Newmans sausage making.

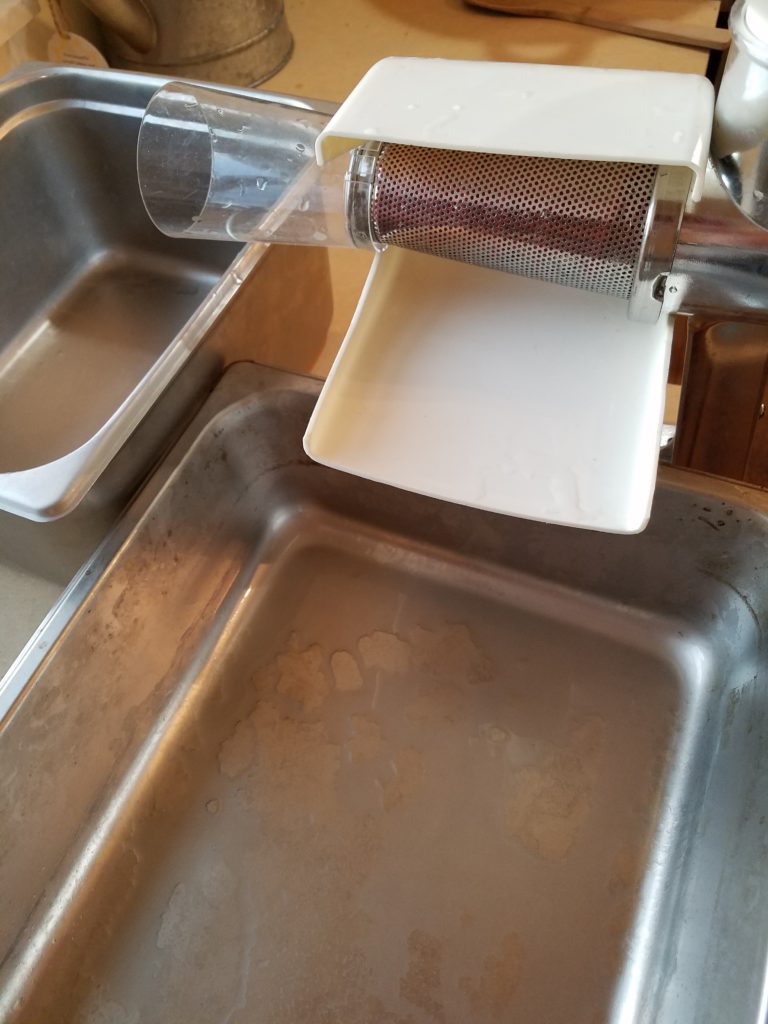
Now the easiest way to sauce the apples is with a Victorio Food Strainer, but any food strainer will work.  I even think Kitchen Aid has one that attaches to the stand mixer.

Here is my set up.


I use a full pan for the sauce and a half pan for the pulp.

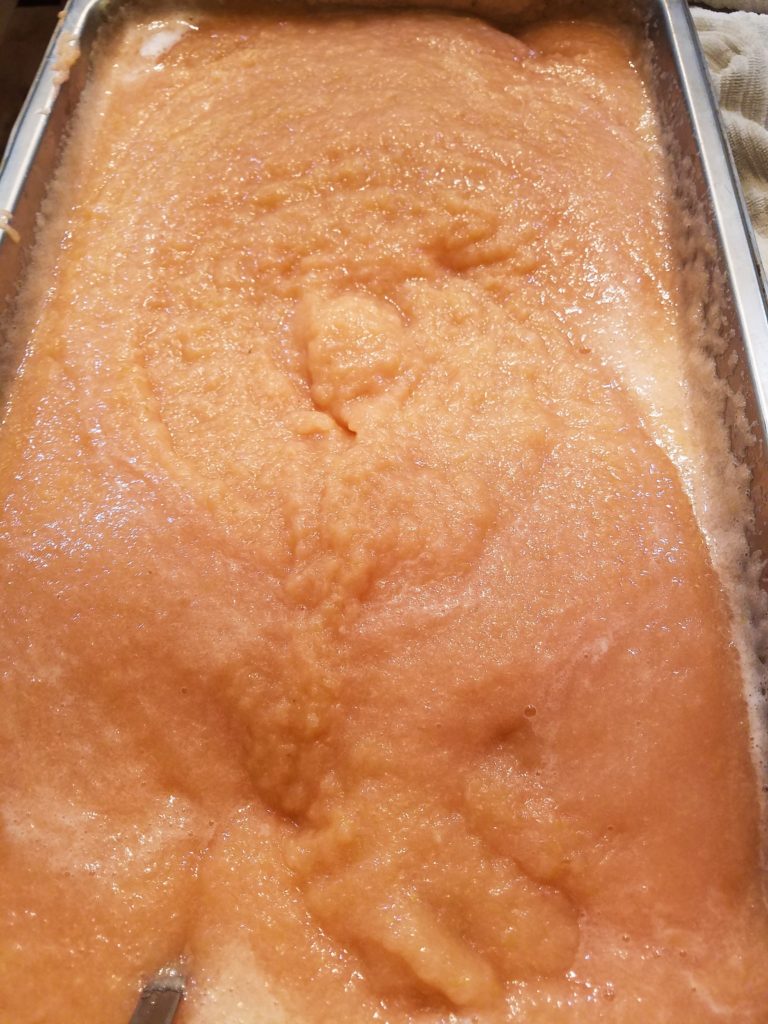
Once you are set up and apples boiled simply scoop up apples and put them through the strainer.  You spin the handle (great job for an energetic child, that’s what my 4-year-old does).  Out will come delicious and beautiful applesauce.

If you notice the pink color of the applesauce, its because I cook the apples with the skin on.  This provides the full apple flavor and the beautiful color in the applesauce.  Be sure and sauce the apples when they are still hot it is easier and they can way better.

Now you have a full pan of applesauce and are ready to can it.

I generally get the jars and canning stuff ready while I’m saucing the apples.  That is where a helper comes in quite handy.

Canning Safely

There are three important things to canning successfully

  1. Cleanliness
  2. Time
  3. Temperature

To clean the jars I run them through the sanitary cycle on the dishwasher or scrub them really well with hot soapy water.  Then boil them in a boiling water bath to kill any bacteria.  Also, boil the lids to get them super clean.

So the enemy of any home canner is a nasty wasty little bacteria called Clostridium botulinum.  This little bugger loves anaerobic conditions (like let’s say a sealed mason jar) and non-acidic foods.  They produce a terrible toxin called Botulinum toxin that is extremely dangerous.  These guys are killed by boiling water bath, but their spores are not.  To kill the spores you need to get to 250 degrees F for 3 min.  Boiling water baths can’t do that.  A pressure canner can.

The other way to prevent the spore growth is low pH, below 4.6.  Applesauce is between pH 3.1 and 3.6, so it is acidic enough to prevent C. botulinum spores from growing, but still needs a good boiling to kill the live bacteria.  So you can use a boiling water canner to can applesauce.   I use my pressure canner anyway for two reasons.  First, I don’t want sick family or exploding cans so why not take the extra precautions?  The second and even more important reason is that I can seal 7 jars in 10 mins in the pressure canner or 7 jars in 30 mins in the boiling water bath, so I just get done a lot quicker with the pressure canner.

Back to the process.

Fill your clean mason jars with hot applesauce.  The temperature is important for a number of reasons but mainly you want it to stay hot to keep any bacteria from growing, and second a cold jar placed in hot water will sometimes crack and you will lose your delicious applesauce.

Leave about 1/2 inch of headspace at the top of the jar for expansion of the applesauce.

Wipe the tops of the jar to get any applesauce off the rim, so the lids will seal properly.

Cover with clean lids and put a band on fairly snugly (don’t take out the monkey wrench but don’t just twist lightly).

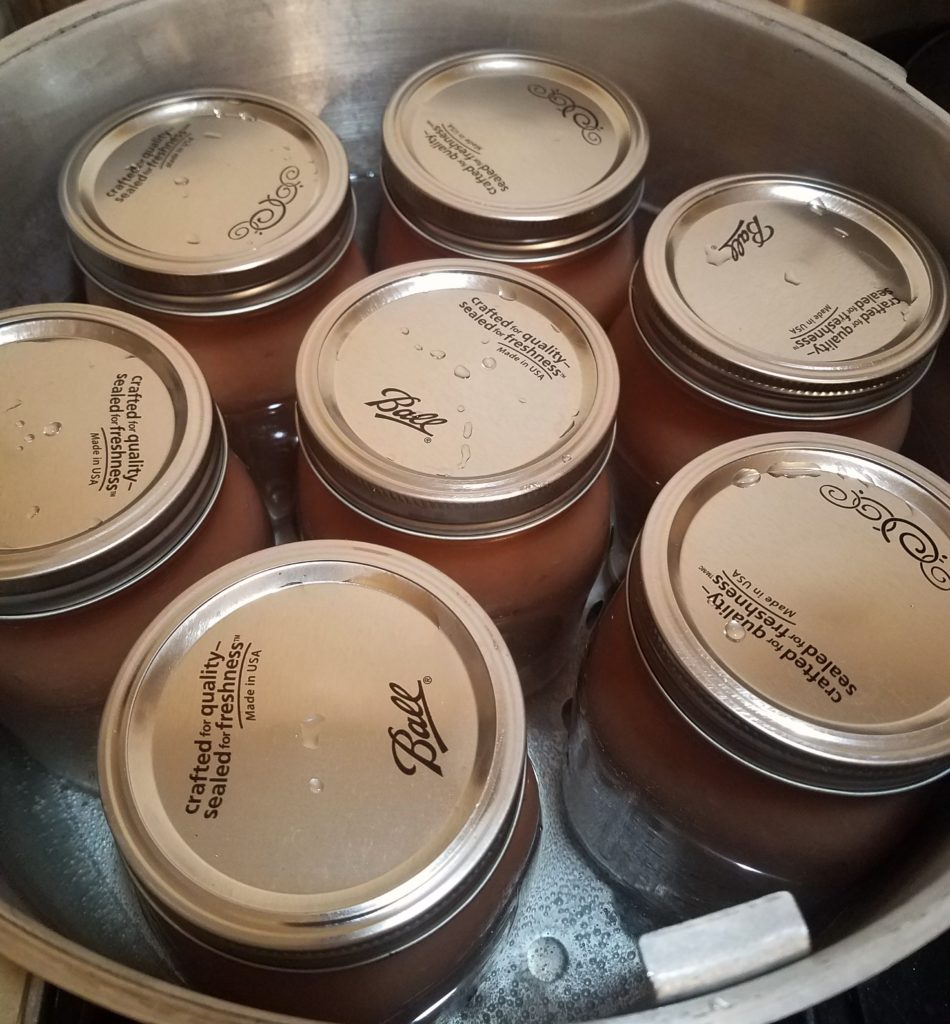
Place the jars in a boiling water canner or a pressure canner.  Boil for 30 min, if you use a boiling water canner be sure to cover the jars with water.  Or you can pressure can for 10 min.  It is important that you start the time when the water is at a rolling boil or the pressure valve pops up on your canner not once you put the jars in.

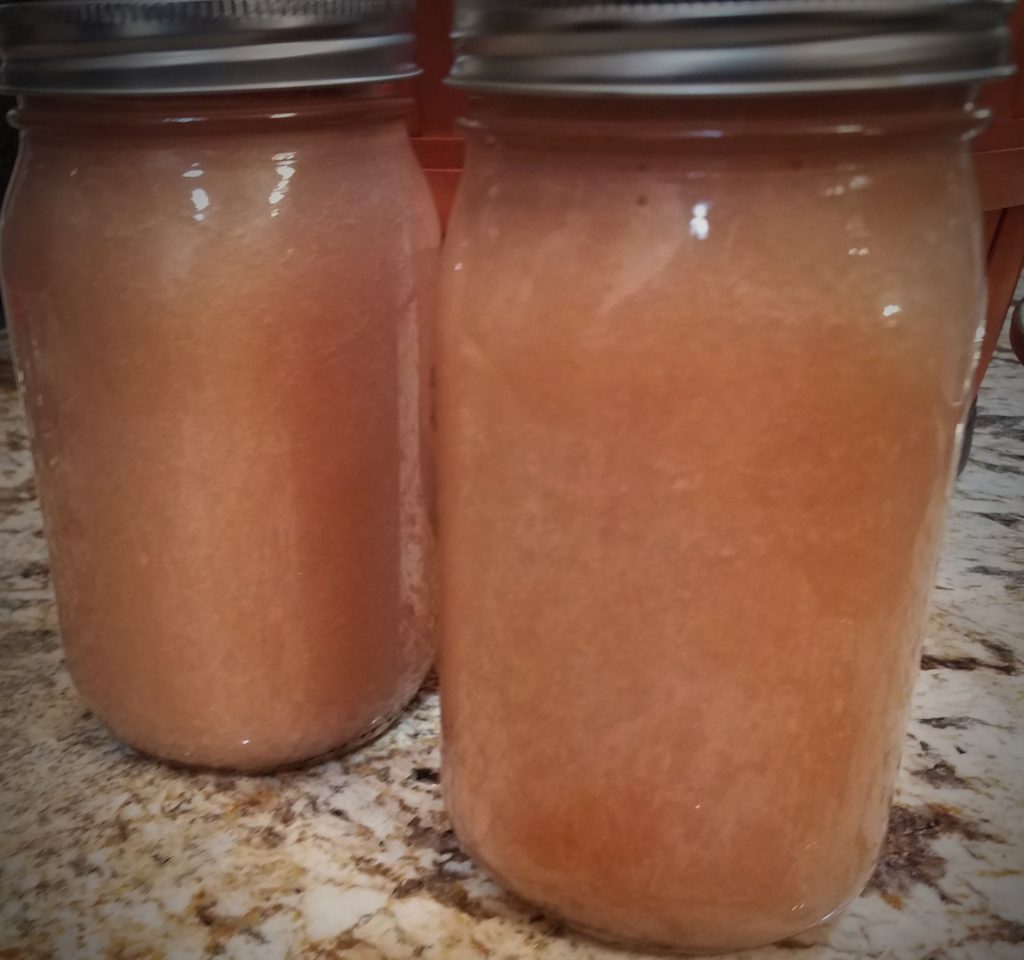
When you take them out, place them on a towel to cool at room temperature, you should hear a popping sound as the lids seal and the little “button” pops in.  Check the seal by ensuring that the lid center has popped down.  If it hasn’t refridgerate at eat within a week.

Just like that, you have amazing homemade applesauce that you can store for 12 to 18 months.


© 2024 Original Food Dude

Theme by Anders NorenUp ↑